0 Cart
Added to Cart
    You have items in your cart
    You have 1 item in your cart
    Total
    Check Out Continue Shopping
    Blog Menu

    The Best Vegan Cupcake Recipe & DIY Rainbow Cupcake Stand

    The Best Vegan Cupcake Recipe & DIY Rainbow Cupcake Stand

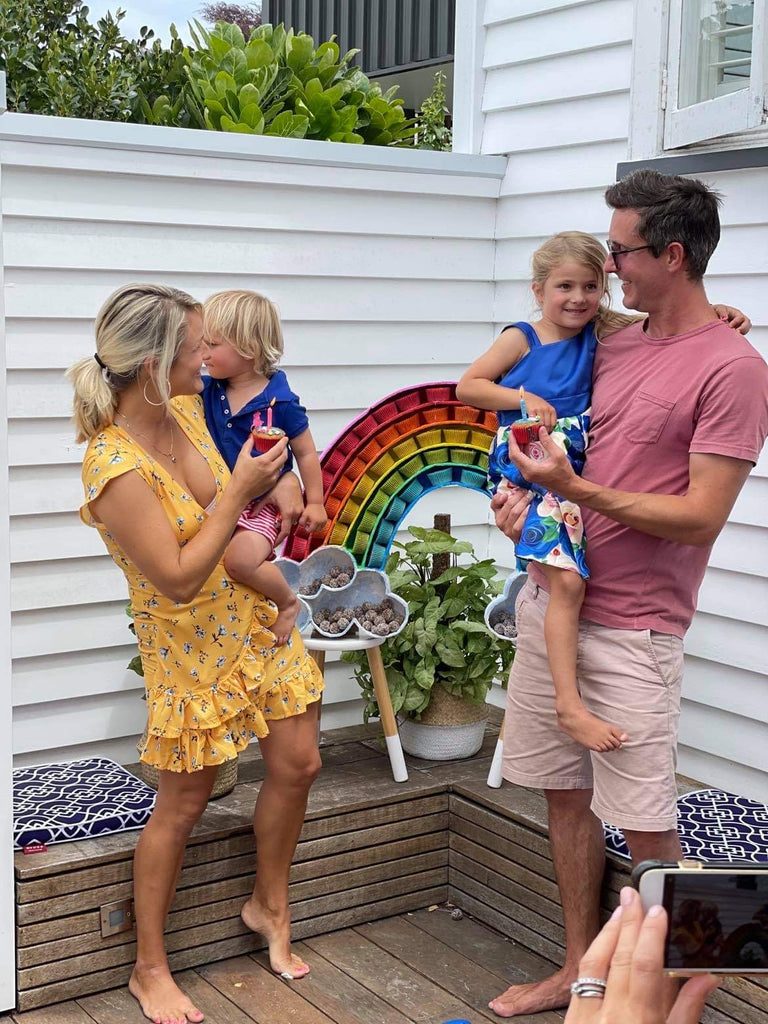
    My babies are 5 and 2!


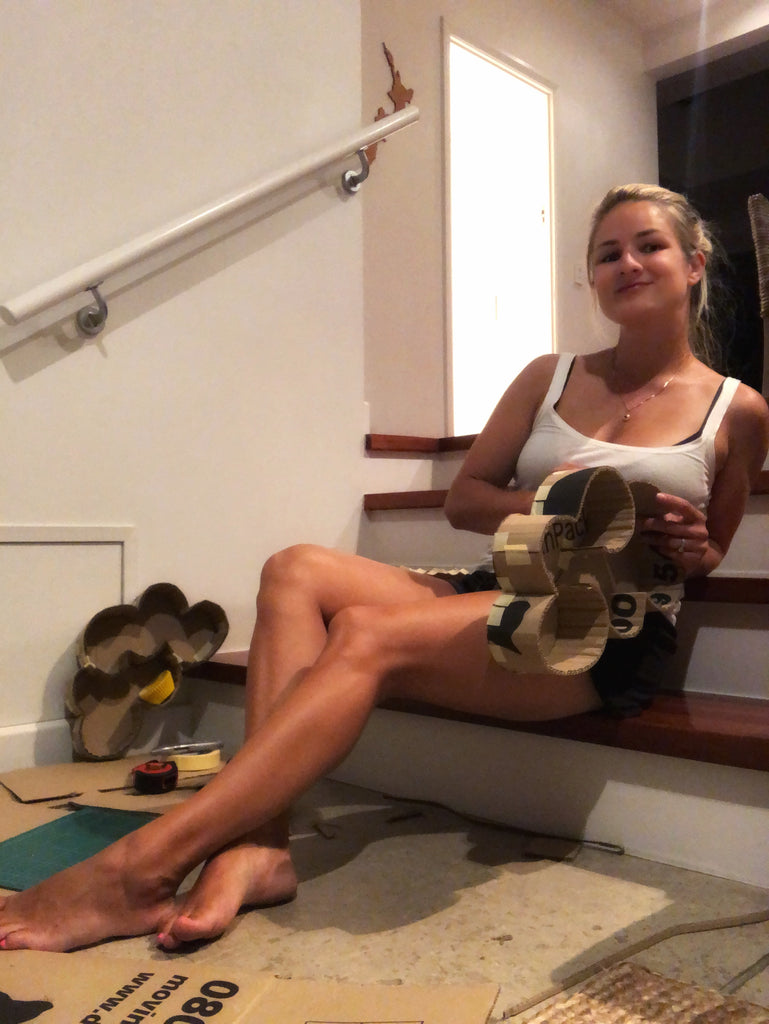
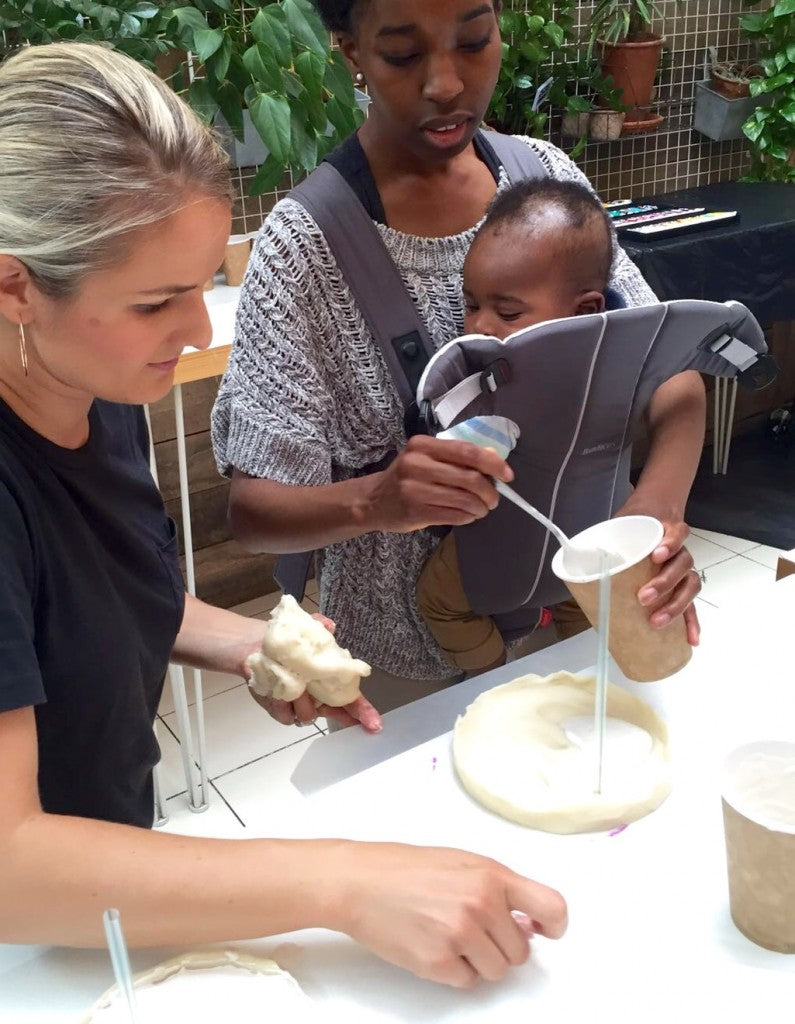
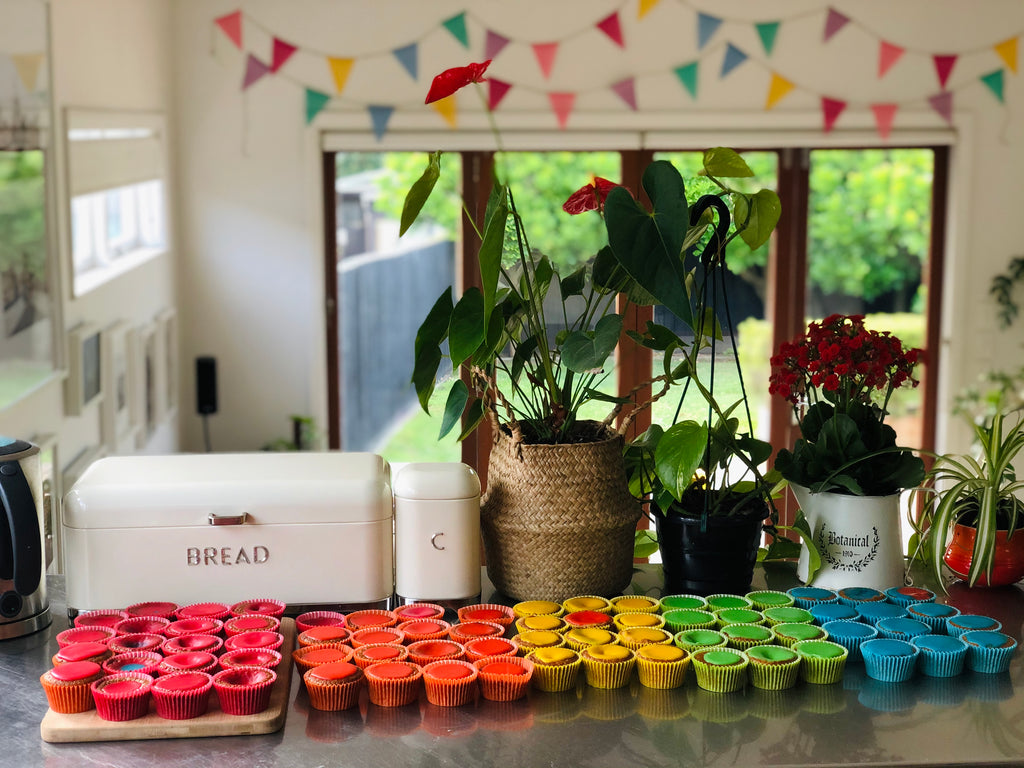
    Three late nights and one full day (with helper as pictured below!), but the cupcake stand turned out alright 🙌😅🌈 


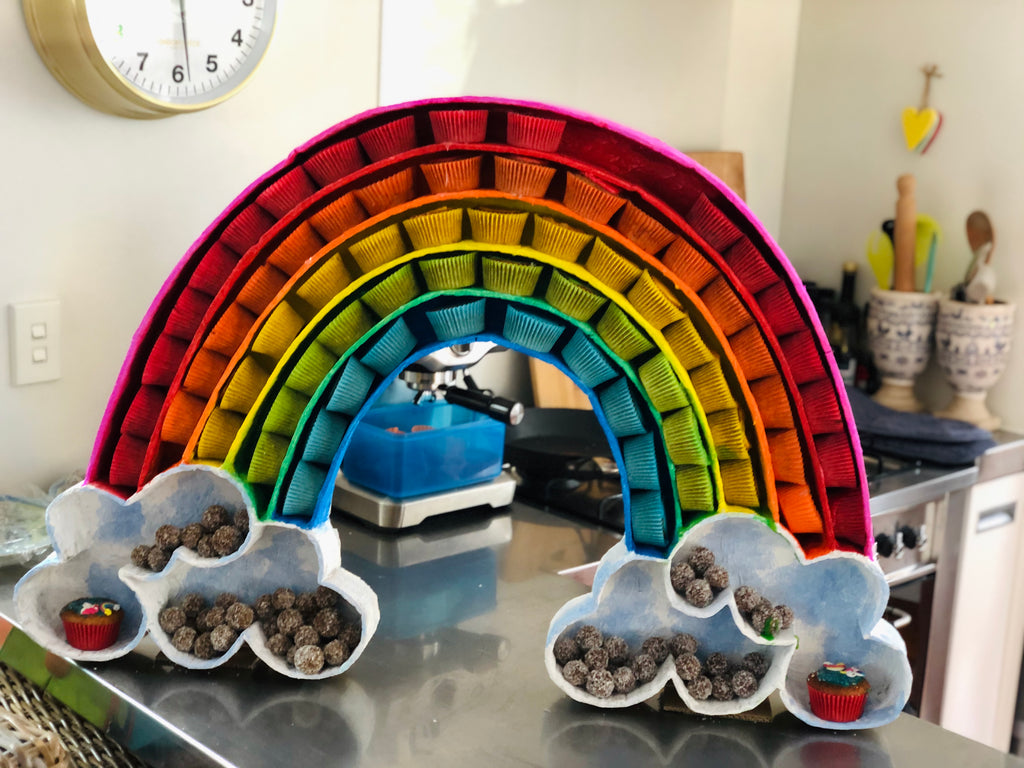
    We recently celebrated Lake turning 5 and Banks turning 2 with a rainbow themed party, I googled every possible avenue and search word humanly available, but no one (NO! ONE!) sold cupcake structures shaped as a rainbow. 


    Business opportunity, people! 😜


    Tanya Maher's Vegan Gluten Free Dairy Free Rainbow Cupcake Recipe


    I was highly conscious of the fact that parties weren’t an option for many of you for some time so I held off posting the cupcake recipe, but the requests kept coming...


    Sooooo, here you are.


    Tanya Maher's Vegan Gluten Free Dairy Free Rainbow Cupcake Recipe 


    Vegan Cupcakes

    (yields 12)


    For the dry ingredients

    1.5 Cups (180g) GF Plain Flour

    3/4 Cup Raw or Demerara Sugar

    1.5 teaspoon Baking Powder

    1/2 teaspoon Baking Soda

    1/2 teaspoon Himalayan Salt


    For the wet ingredients

    1 Cup (240g) Full Fat Coconut Milk from can*

    1 tablespoon Vanilla Extract

    1 teaspoon apple cider vinegar


    *Ensure the can has been kept at room temperature and shaken really well. If you open the can and coconut milk is still separated into clear and creamy parts, then transfer the lot into a blender and blend to combine.


    METHOD

    -Preheat the oven to 180C.

    -Whisk all of the dry ingredients in a large mixing bowl, making sure to smooth out any lumps. In a separate bowl, whisk all of the wet ingredients.

    -Slowly pour the wet ingredients over the dry while whisking gently or stirring briskly. When the mixture is smooth, scoop it evenly among 12 muffin cases. Better to fill with less and slowly add spoonfuls at a time, than to overfill some cases and not others. You will notice that each case looks only about half full, but don’t be tempted to overfill it, because the cupcakes will rise A LOT! In fact, this mixture was enough for me to fill 14 muffin cases, since I was restricted by height and really couldn’t have  it rise above the muffin case or it wasn’t going to fit into my rainbow sculpture.

    -Bake for 13-14 minutes. I ended up having to bake 7 x 12 muffin trays for the rainbow to be complete and set the timer for 13 minutes each time which was perfect for my oven. Just make sure they are golden on top.


    Tanya Maher's Vegan Gluten Free Dairy Free Rainbow Cupcake Recipe


    Vegan Icing


    1/2 Cup Icing Sugar

    2 tablespoons Cashew Cream*

    1 teaspoon Lemon Juice

    2-4 drops natural Food Colour

    Optional: Hot Water**


    *To make cashew cream, I soak 1 cup of cashews in hot water for 1 hour or in cold water overnight, rinse them and blend with 3/4 cup of filtered water until creamy.

    **Only add if your icing is too thick after mixing really well and only add 1 teaspoon of hot water at a time.


    -I made 5 different colours for my rainbow, so I used this recipe 5 times within separate bowls, the only variant was the food colour. I mixed everything using a spoon and got a beautiful thick glaze. 

    -Once the cupcakes were completely cooled, I then poured a small spoonful at a time over each cupcake. Use the back of your spoon to glide the glaze over the top of the cupcake to cover it completely. Leave to set for 2-3 hours.


    I also thought I’d post the step by step pictures of the sculpture incase it inspires you to make something similar with your kids. Lake had the time of her life helping me paint it and if she was a bit older, I would’ve had her manning the PVA and the glue gun too. 

    Tanya Maher's DIY Rainbow Cupcake Stand + Vegan Gluten Free Cupcake Recipe


    Tanya Maher's DIY Rainbow Cupcake Stand + Vegan Gluten Free Cupcake Recipe


    Tanya Maher's DIY Rainbow Cupcake Stand + Vegan Gluten Free Cupcake Recipe


    Tanya Maher's DIY Rainbow Cupcake Stand + Vegan Gluten Free Cupcake Recipe


    Tanya Maher's DIY Rainbow Cupcake Stand + Vegan Gluten Free Cupcake Recipe


    Tanya Maher's DIY Rainbow Cupcake Stand + Vegan Gluten Free Cupcake Recipe


    Tanya Maher's DIY Rainbow Cupcake Stand + Vegan Gluten Free Cupcake Recipe


    Tanya Maher's DIY Rainbow Cupcake Stand + Vegan Gluten Free Cupcake Recipe


    Tanya Maher's DIY Rainbow Cupcake Stand + Vegan Gluten Free Cupcake Recipe


    Tanya Maher's DIY Rainbow Cupcake Stand + Vegan Gluten Free Cupcake Recipe


    Rainbow themed kids party 


    Tanya Maher's DIY Rainbow Cupcake Stand + Vegan Gluten Free Cupcake Recipe


    Tanya Maher's Vegan Gluten Free Dairy Free Rainbow Cupcake Recipe 


    Make your own 3D hand and foot casts

    Make your own 3D hand and foot casts

    It’s been over 8 years since I’ve had any white flour, processed table salt or cheap vegetable oil in my pantry, but today I’ve reunited with these items once again!

    Don’t worry, I haven’t gone back to eating them and I highly doubt we’ll see the day of me ever using the inedible ingredients in my food, but there may very well be a place for them in your life…

    Today I’m sharing a recipe you might like to try for yourself… especially if you have little ones and especially if you’re stuck for Father’s Day gift ideas!

    Below you will find all the instructions for creating your very own play dough! So fun. And more importantly, you will find instructions to creating a mould for your child’s 3D hand and foot casting- the best keepsake and gift ever! Plus you can keep making these for as long as you like and monitor your baby’s growth over the years. They will love to compare the size of their hands and feet also as they get older.


    image image

    THE STEPS COME IN THESE 4 PARTS (+ SHOPPING LIST FOR EACH):

    1. MAKE PLAY DOUGH (OR MISS THIS STEP IF USING BOUGHT PLAY DOH)

    Table salt
    White flour (or gluten free flour)
    Vegetable oil
    Cream of tartar (baking section of supermarket)
    Saucepan, cup and spoon measuring tools, wooden spoon, stove top

    2. CREATE A MOULD

    Pliable surface (ie soft plastic chopping board or dehydrator teflex sheet)
    6.5 inch/ 16.5 cm saucepan (or something else with a flat base)

    3. SET PLASTER

    Plaster of Paris (from Amazon or any art supplies store)
    Cup and ml measuring tools
    Bowl and spoon
    Plastic straw

    4. DECORATE

    Paints, brushes
    Ribbon


    IMG_6131

    AND NOW HERE ARE ALL THE STEPS. IT’S LITERALLY SO EASY AND SERIOUSLY FUN! AS YOU CAN SEE, I’VE HELD A WORKSHOP FOR ALL MY ANTENATAL CLASS GIRLS AT TANYA’S CAFE AND THEY ALL HAD THEIR BABIES STRAPPED TO THEM FOR THE FULL DURATION OF THE PROJECT, SO WE KNOW FOR SURE 2 HOURS IS PLENTY FROM GETTING EVERYTHING READY TO HAVING A COMPLETED PIECE READY TO HANG, ALL WITH THE BABY TO TEND TO.


    1. MAKE YOUR OWN PLAY DOUGH

    Ingredients:
    2 cups warm water
    1 cup salt
    2 cups white flour
    1 tbsp vegetable oil
    1.5 tbsp cream of tartar (2.5 packs from 6 pack box)

    -All in saucepan over medium heat.
    -Stir quickly till it mixes well to dough consistency (5-10 mins).
    -The dough won’t be hot so you can take it out and kneed on a non stick surface.
    -Transfer to an airtight container, where it will keep for months.

    2. CREATE A MOULD

    -Take 1/3 amount of dough.
    -Flatten into a pancake with your hands.
    -Place onto non stick AND pliable surface (must be pliable or you’ll struggle to remove it without cracking the cast plaster), press bottom of saucepan into it (apply lots of force) and fold dough around the edges to create a safe well.
    -Remove the saucepan and fix any edges that need fixing.
    -Place baby’s hands/feet/both where you’d like them in the circle and apply force all over to create a good dent.


    image image

    image image image image

    3. SET PLASTER

    1 cup plaster of Paris
    110ml water

    -Make sure everything is ready to go before stirring the plaster powder with water as it’ll start setting within 10 minutes. If you’re having a hole for the hanging ribbon- screw in a plastic straw into the dough mould at this stage.
    -Pour 110ml water into a bowl, add powder (always add powder to water not the other way round) and stir immediately and very quickly, making sure to stir out any lumps or large bubbles.
    -Pour plaster into the well, gently move the resting board from side to side to even out plaster surface and especially to fill out the hand print. Leave to set for 30+ minutes.
    -If any plaster went out the sides when you poured it, simply wait for it to set slightly (but when it’s still damp) and shave off the uneven edges with a butter knife.

    image image

    4. DECORATE

    -There’s no added benefit to leaving plaster to set for hours unless your dough is extremely wet (shouldn’t be with above recipe), so 30-60 minutes should be more than enough. Remove the straw by twisting it out.

    -Turn the entire mould with its pliable surface over and carefully peel the sheet away. Be gentle so the plaster doesn’t crack.

    -Now gently peel off the dough. It will be quite sticky and if it doesn’t come away easily, take a small drier piece of dough and use it like a sticker to go over the whole cast and collect all the stray bits of wet dough. You want to make sure that all that remains is the set plaster.

    -Leave to air dry for 5-10 minutes and apply your favourite colour in acrylic paint (take straight from tube without adding water). I recommend choosing 2 colours and using the darker as the base.

    -Take the second lighter colour (if using), apply to your finger and run it along the protruding surface of the hands/feet. This way the dark colour appears through the ‘cracks’ outlining the 3D effect even better.

    -Thread a ribbon through the hole. And voila!

    image image image image